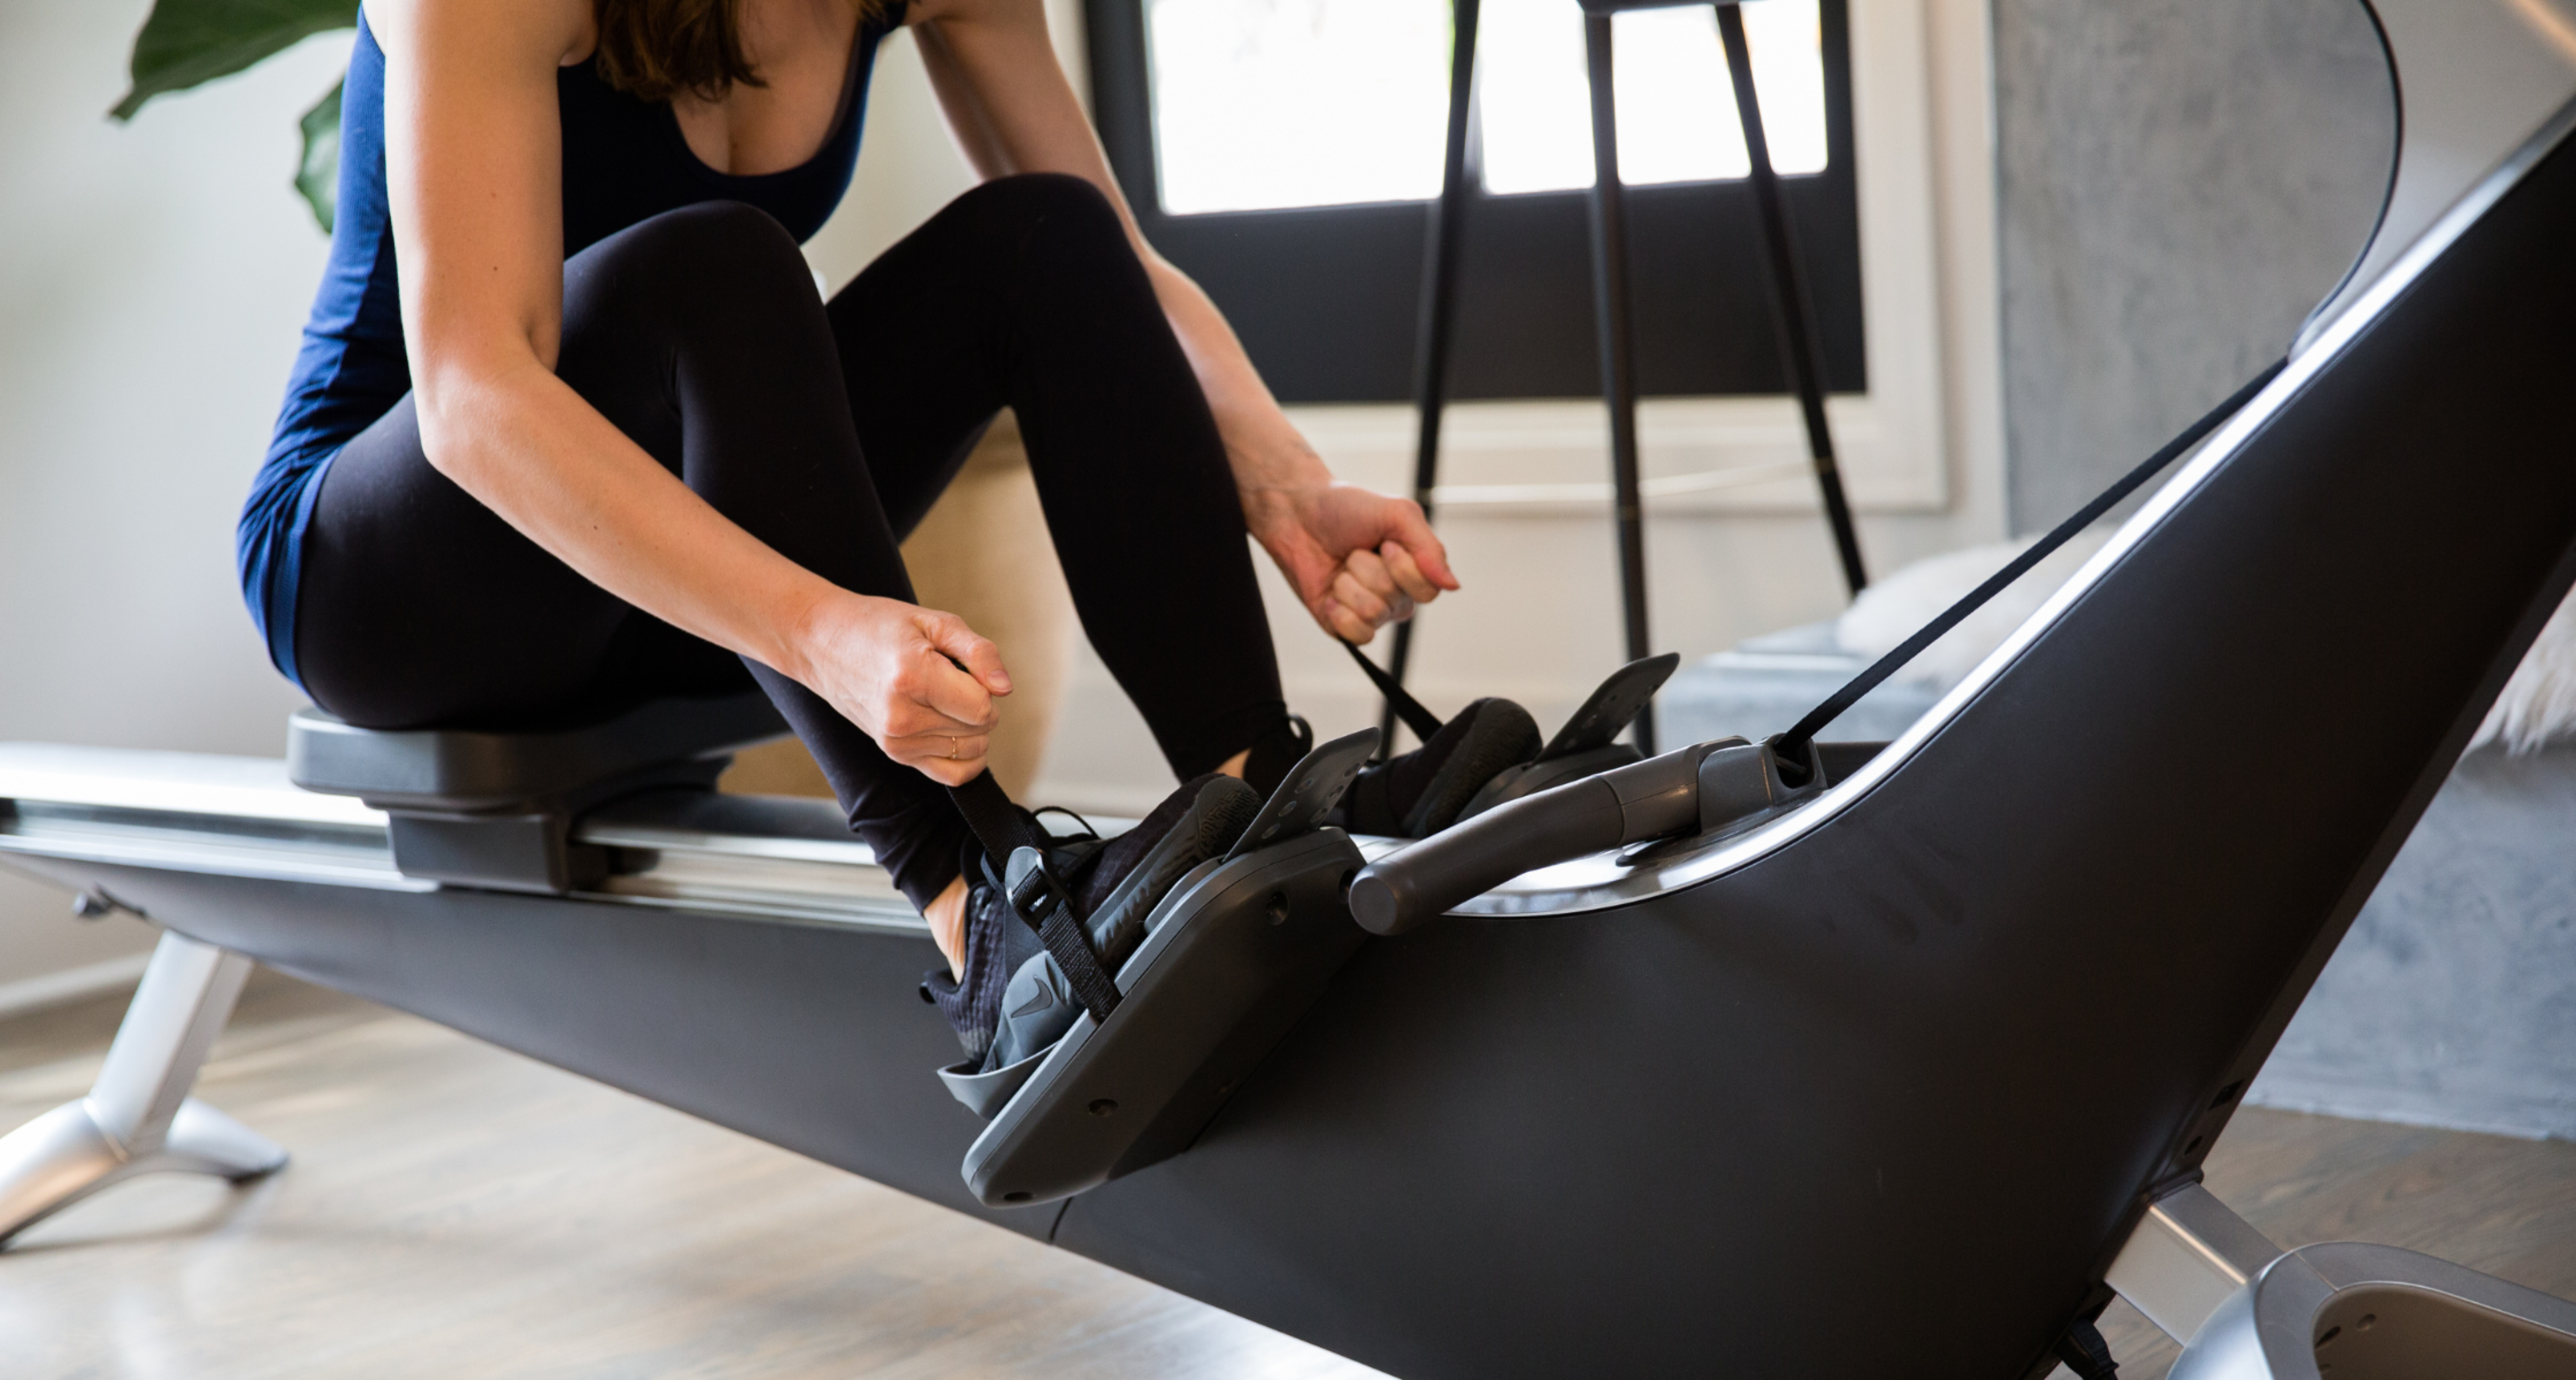
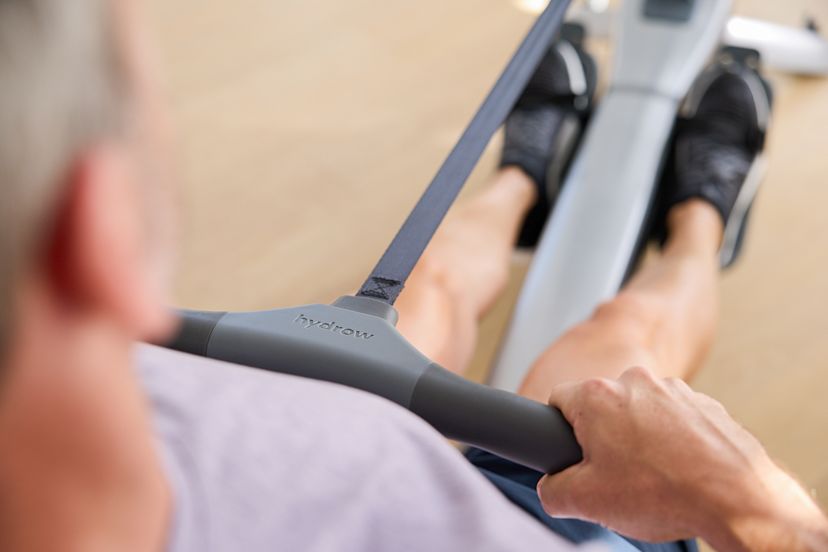
Legs Only Drill: How to Leverage Legs and Core in Rowing

Rowing machine exercises work every major muscle group in the body, but sometimes it takes a little bit of work on your form to ensure you’re really getting total body engagement. If you’re new to rowing or feel like you’ve hit a plateau, it can sometimes feel like things aren’t “clicking”; an exercise called the “Legs Only Drill” is here to get more out of every workout.
Rowing is a low impact, full body workout, and is one of the most efficient and effective workouts you can do; you can see results in as little as 10 minutes a day. To really feel and see the changes you want from your Hydrow rowing routine, you’ve got to focus on a few techniques.
Read on to learn more about the Legs Only Drill and how this simple exercise can help you sweat up a storm in your next Hydrow workout.
Legs only drill: Why Do It?
As a compound movement, rowing is a whole body workout, which makes it an incredibly efficient way to build strength and cardiovascular fitness. But in order to get the most out of your rowing workouts, it’s important to practice a few key rowing drills, the Legs Only Drill being one of them.
“While training for the Olympics we did some variation of the Legs Only Drill in most of our warmups. It is one of the best ways to learn how to engage the legs at the catch, as well as feel the connection in the lat muscles. I like to call it a two-for drill- two drills for the price of one!” Hydrow Athlete and Olympian Aquil Abdullah says.
“Practicing your movement patterns is an essential way to continue to build not only the right neural pathways in your brain to make the rowing motion feel more natural, but it also helps your body isolate muscle groups so that you’re making sure that you’re “firing” all of the muscle groups at the right times,” says Kristin Haraldsdottir, PhD, Hydrow’s resident exercise physiologist. “The Leg Press Drill will make sure you’re training your body to get the most out of your legs, your largest and most powerful muscle groups!”
So, let’s practice like Olympic athletes and learn how to maximize our efficiency in rowing!
Step 1: Just Your Legs Press
“If you’ve ever gotten on the leg press machine at the gym, you know what this part of the drill is going to feel like. Your legs do all the work, while your core, back, shoulders and arms remain still and steady like a lever,” says Haraldsdottir.
One of the most amazing things about rowing is that it is a compound movement- meaning it works multiple muscle groups across multiple joints at the same time. The primary muscle groups exercised in the first portion of the rowing motion - the drive - are the quadriceps, hamstrings, and glutes, while your core and back muscles are actively firing to keep you steady and allow your legs to maximize their power.
You can think of your core, back, shoulders and arms as the connection between the Hydrow and your powerful legs in this portion of the drill. As important as the leg drive in this drill, it’s equally important to engage your core and arms so that you are able to transfer the energy from your leg drive into the handle of the Hydrow as you drive the legs down. Keeping the core and shoulders angled forward, pivoting from the hips, at an 11 o’clock position is key here, while the arms remain straight.
Physical emphasis: Hydrow Athlete Sera Moon demonstrates the isolation of the legs in this first part of the rowing motion, where her core, back, shoulders and arms remain steady, as the legs drive back.
Step 2: Add the Core Swing
Now it’s time to let the core be a bit more of an active player in the rowing motion. Keep thinking of your core and back in an 11 o’clock position while the legs are pressing down, then when your knees are almost straight, swing your core and shoulders back to a 1 o’clock position while keeping your arms straight. This may feel a little awkward at first (your arms will want to bend and pull the Hydrow handle in - resist this desire!), but it’s important to keep breaking up the rowing motion so that your mind and body feel the distinction between the different parts of the compound rowing motion!
Physical emphasis: The leg drive is isolated for about the first 50% of the drive portion of the rowing motion, then the core and shoulders swing back, keeping the arms straight.
Step 3: Add in the Arms
By this point, your arms are probably wanting to get in on the action! We’re now going to put the finishing touches on the rowing motion by adding in the arms.
Because you are always practicing when doing this drill, it’s absolutely okay to exaggerate each part of the Legs Only Drill once you’ve added the arms in during this final step- remember to be thinking about the isolated leg drive, engaged core swing, and arms pulling in as separate, but connected parts of the rowing motion. A helpful tip is that the arms should not break until the legs are done pushing.
Physical emphasis: Keep working on feeling the leg press you worked on in the beginning of the drill. Your arms and handle should be pulling in about 1-4 inches away from your chest, right at the bottom of your sternum.
Ready to try it on your own with a Hydrow athlete? Try Mac’s 10-minute “Legs Drill Warm-Up” from 3/5/21.
Check out other Drills in this series: Pick Drill.


