Pick Drill: How To Leverage Arms And Core In Rowing
Want to get the most out of each and every Hydrow rowing workout? While rowing exercises every major muscle group in the body, sometimes it takes a little bit of work on your form to ensure you’re really getting total body engagement. If you’re new to rowing, it can sometimes feel like things don’t always “click” right away; an exercise called the “pick drill” is here to save the day.
Rowing is a low impact, full body workout, and is one of the most efficient and effective workouts you can do; you can see results in as little as 10 minutes. It’s time to take up rowing!
Read on to learn more about the pick drill and how this simple exercise can help you sweat up a storm in your next Hydrow workout.
The pick drill: Why do it?
“Rowing is a hybrid cardio and strength exercise that builds leg, core, back, shoulder and arm strength while also building exceptional cardiovascular fitness,” says Dr. Kristin Haraldsdottir, PhD, Hydrow’s former exercise physiologist.
However, because of the whole-body nature of Hydrow, Kristin recommends you spend a little extra time on rowing technique to get the most out of your workout. “You need to be able to put the different components of the rowing motion together to really get the most out of your workout and maximize those strength and cardio benefits.”
Hydrow releases workouts every week in the library that have a specific technique focus, including warmups and cooldowns. “Warmups are a great way to ensure you remain injury-free Doing one right before your workout is the perfect time to reinforce good movement patterns because you’ll remind your body to engage in a way that gets you more out of your workout session.”
So where is a good place to start? Justin Moore, Hydrow’s Director of Rowing, suggests the Pick Drill, where the rowing motion is broken down into its smaller motions.
Step 1: Let the arms steal the show
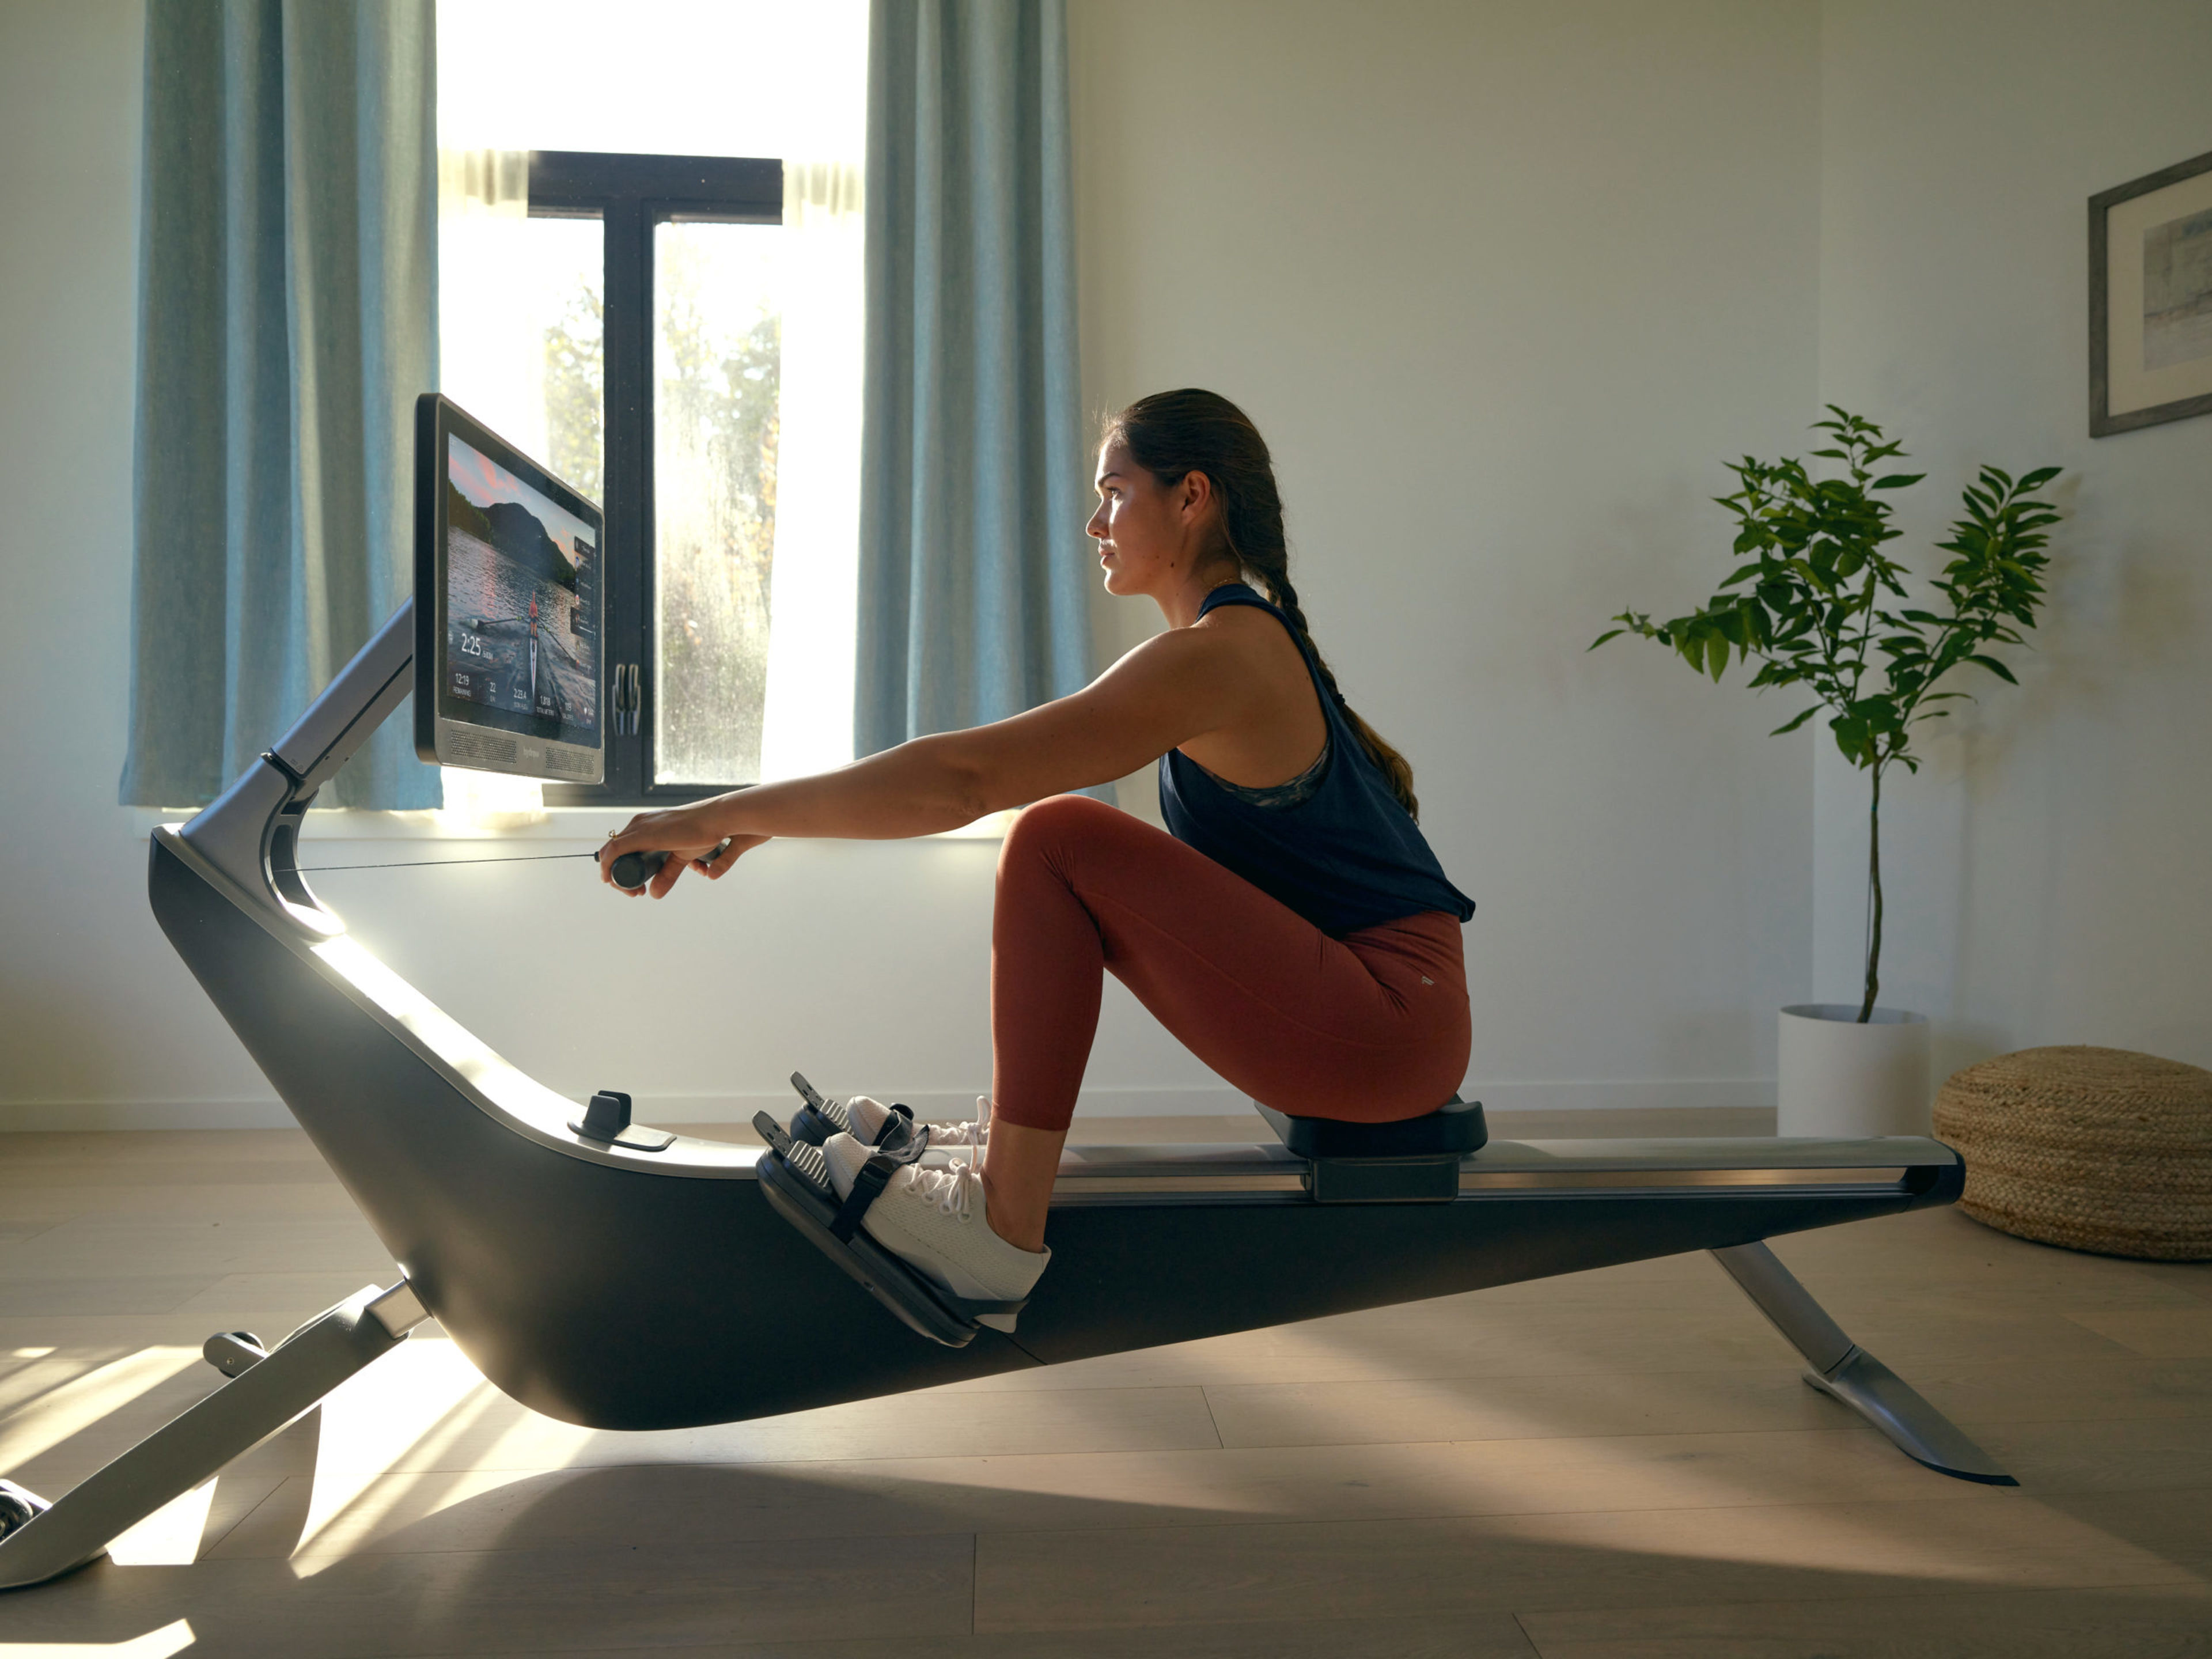
“If you’ve ever done a seated row at the gym, the beginning of this drill will feel familiar,” Moore says. Start from the “finish” position of the rowing stroke: Your legs are straight, your core and shoulders are back at a one o’clock angle, and the Hydrow handle is pulled to the base of your sternum.
From that position, keep your core, quads and glutes engaged, and start taking little mini strokes with just your arms. This feels awkward at first, but slowly start to pick up the rhythm and watch your split drop. Do this for about a minute (hint: your core, shoulders and legs might start quivering! It’s a little bit like a barre class.)
Physical emphasis: Squeeze the quads, glutes, core and lats to keep them still and a solid base for the arms to really get to workout.
Step 2: Add in the core
Now it’s time to incorporate core into your rowing form. From your arms-only position, where your core and shoulders are leaned back at a one o’clock position, pivot your core and shoulders forward to an 11 o’clock position (not further!) with your arms and handle extended out in front of you.
Because most of us have pretty tight hamstrings, you can let your knees come up about an inch or two (where your Hydrow seat only rolls forward about an inch or two) in order to keep your back straight and strong. Spend the first 30 seconds or so getting comfortable with this movement, then start swinging back and pulling your arms in with more intensity and watch your split come down.
Physical emphasis: Move your core and shoulders between 11 o’clock and 1 o’clock, keep your knees almost completely straight, and ensure your split is coming from an engaged core swinging back.
Step 3: Add in half knee bend for some short slide rowing
By this point, your legs are probably itching to do some work, and we’re almost ready to let them! We’re about to incorporate the legs in the same way you’d learn to squat safely: in stages.
It’s tempting at this point to roll your seat as far forward as you can and bend your knees all the way, but challenge yourself to have patience and only bend your knees halfway, or to about 90 degrees. Keep your strokes per minute relatively low, at about 24, and maintain that great core and arm connection that you worked on in the beginning of this drill. Emphasize patience!
In rowing this is called “half slide rowing”, and it teaches us both good sequencing with the arms and core and strong leg connection.
Physical emphasis: Bend the knees halfway, swing the core and shoulders between 11 o’clock and 1 o’clock, and feel for strong connection with the legs.
Step 4: Put it all together
After discovering the joys of short slide rowing, you may never want to go back to full slide rowing, but here we go! The transition is simple; all you’re going to do is roll further forward on your Hydrow seat.
Your heels will probably come up from the footboards a bit (that’s ok!), and your seat should be somewhere around 6 to 10 inches away from your heels. Your core and shoulders should still be at 11 o’clock at the catch- the only thing that changes is how much of a bend you have in your knees.
Physical emphasis: Keep working on the awareness you developed at the beginning of the drill. Let your arms finish the stroke, swing your core from 11 o’clock to 1 o’clock, and ensure your core stays engaged and links together the legs and arms.
Ready to try it on your own with a Hydrow athlete? Try Laine’s 10 minute warmup, “Pick Drill Warmup” from 1/31/21.
Check out other Drills in this series: Legs Only Drill.


