Proper Rowing Machine Form: How to Row Correctly on a Rowing Machine

If you’re learning how to use a rowing machine, you’ve likely heard about the importance of maintaining proper form as you move through each of your strokes. But for beginners, it’s hard to know what exactly proper rowing technique looks—and feels!—like. Rowing form can have a major impact on the effectiveness of your workout and your risk of injury, so it’s worth ensuring you’re on the right path from the get-go.
In this blog, we’ll explore everything you need to know about how to row correctly on a rowing machine, including:
Let’s dive in!
Why proper former rowing machine form is so important
Having proper rowing technique is essential because it maximizes your efficiency, power, and safety. As tempting as it may be to hop on your rowing machine for the first time and just go for it, it’s important to take the time to learn how to use a rowing machine correctly—and periodically check in on your form as you continue your rowing journey.
Below, we’ll dig into four of the major benefits of maintaining proper form in your rowing workouts, including:
More powerful and efficient strokes
Fewer overuse injuries
Increased endurance
Better mental focus
1. More powerful and efficient strokes
One of the best ways to develop a stronger and more resilient stroke is to maintain quality form. This will ensure all the major muscle groups targeted in rowing—your legs, back, and arms—are used effectively, allowing for smoother and more coordinated movements that efficiently transfer energy from your body to the rowing machine.
Focusing on your form will help you produce more powerful strokes, maximizing your workouts and reducing any energy waste from any ineffective movements you’re making.
2. Fewer overuse injuries
Indoor rowers are popular for their effective and low-impact workouts, but if your form is out of whack, you could be setting yourself up for unnecessary soreness or even an injury. Proper posture will help you avoid unnecessary strain on your lower back, knees, and shoulders, allowing you to train for longer without needing to take a break from rowing and potentially setting yourself back.
Related Blog: How to Prevent and Treat Common Rowing Injuries
3. Increased endurance
Learning how to row properly also helps in maintaining a consistent rhythm, which is crucial when you’re rowing for longer periods of time. A steady rhythm improves your endurance, keeping your breathing steady and helping you to pace yourself throughout your workout. Good form also engages your muscles in a balanced manner, reducing the chance of one muscle group tiring too quickly.
4. Better mental focus
Additionally, focusing on maintaining good form enhances your mental concentration, helping you push through longer rowing sessions by keeping your mind engaged and reducing your perceived effort. In other words, you’ll be thinking so much about keeping your form in check that you may not notice how much time has flown in your workout—score!
How to row properly: The four-part rowing stroke
Ready to learn how to properly use a rowing machine? The first thing you have to know as you focus on your form is that the indoor rowing stroke comprises four parts:
The Catch
The Drive
The Finish
The Recovery
These four parts come into play in a 1-2-3-3-2-1 formation as you propel yourself backwards on your rowing machine, then bring your body forward again.
Below, we’ll break down how to complete each part of the rowing stroke and provide tips to keep in mind to maximize your efficiency and maintain your form.
1. The Catch

What happens in the Catch phase?
To start, you want to sit tall on your rowing machine with your knees bent and your ankles flexed. Your shins should be vertical, with your arms reached out straight. Relax your shoulders and engage your core as you lean your shoulders slightly in front of your hips, still keeping your back nice and tall.
What does proper rowing form in the Catch phase look like?
To maintain your form in the Catch phase, you’ll want to position your body as follows:
Body lean: Lean slightly forward from your hips in a 1 o’clock position.
Legs: Fully bend your knees, bringing your shins vertical.
Arms: Extend your arms straight forward with a relaxed grip on your handle.
Head: Keep your head up, looking straight ahead.
Core: Activate your core muscles to support your back.
Back: Maintain a straight, neutral spine and flat back.
Shoulders: Keep your shoulders relaxed and slightly forward.
Body alignment: Ensure overall body alignment, with your shins vertical and your arms extended.
Tips for maintaining your technique during the Catch phase
Your core should be engaged at the catch: Engage your core the way you would if you were bracing for a gut punch or holding a plank position on the ground. A strong core helps to stabilize your rowing stroke and give you better overall control. It’s essential in maintaining a solid connection between your legs and arms and is the secret to maintaining power in the rowing stroke.
Bend your knees and hinge from the hips (maintaining a strong core) forward to the 1 o’clock position: As you hold onto that body position, you’ll feel your core working.
Your arms should be long and straight, but not overstretched: Everyone’s arm length is a little different, so exact positioning varies. If your shoulders begin to hunch forward, you’re overdoing it.
2. The Drive

What happens in the Drive phase?
Time to sweat! This position is critical, as it produces the power of your rowing stroke. Starting from the Catch position, you’ll engage your glutes, quads, and core and firmly push through your full foot to straighten your legs, sending your rowing machine seat backwards. Your legs should be the primary source of power here, as tempting as it is to put all of your power into your arms.
What does proper rowing technique in the Drive phase look like?
You’ll be able to maintain proper form during the Drive phase by focusing on the following positioning:
Legs: Start with a strong leg drive, pushing off with your feet.
Hips: Hinge at your hips while keeping your back straight and your core engaged.
Arms:
Engage your arms to pull the handle toward your body, keeping your elbows close.
Pull the handle to just below your ribcage with a relaxed grip.
Body: Maintain a smooth, coordinated, and fluid movement from your legs, hips, and arms.
Breathing: Time your exhale with your exertion.
Tips for maintaining your technique during the Drive phase
Foot strap placement matters: A funky foot strap position makes it harder to push your heels into the footbeds during the Drive. Your strap should go over the widest part of your shoe.
Keep your core engaged throughout the entire movement: If your core taps out, it becomes harder for your leg muscles to fully engage.
Avoid leaning back too soon: Resist the urge to open your hips before your legs have fully extended. The front of your hip flexors shouldn’t see any daylight until your legs have straightened. Sometimes this timing takes practice!
Keep your knees soft: If you’re locking out your legs at the end, you’re overdoing it and putting unnecessary strain on your knee joints—especially if you’re prone to hyper-extension. Keep your movement both fluid and strong.
This sequence of legs, core, and arms should be done in one fluid movement without pausing. If you’re doing the Drive phase correctly, you should feel consistent resistance on the handle, even pressure on your feet and handle, and an active core, quads, glutes, and hamstrings.
Wondering if a Hydrow rowing machine is right for you? Get answers in our FAQ guide.
3. The Finish

What happens in the Finish phase?
The third phase of the rowing stroke, called the “Finish,” is essentially the opposite of the Catch position. Your handle should be touching your body at your sternum, with your wrists flat and your grip relaxed. Your elbows will be at a 45-degree angle (neither too high or too low), as you lean slightly away from the screen and engage your core. Your legs will be flat and straight as your feet push flat on the footboard.
What does proper rowing machine technique in the Finish phase look like?
To maintain your rowing technique during the Finish phase, focus on the following positioning:
Body: Lean slightly backwards at an 11 o’clock position.
Legs: Fully extend your legs without locking your knees.
Arms:
Pull the handle to your lower ribs, keeping your wrists flat.
Bend your elbows and keep them close to your body.
Have a firm but relaxed grip on the handle.
Shoulders: Keep your shoulders relaxed, with a slight squeeze of your shoulder blades.
Head: Keep your head neutral and looking straight ahead.
Core: Engage your core to support your lower back and stay stable.
Breathing: Exhale as you prepare for the Recovery phase.
Tips for maintaining your technique during the Finish phase
Visualize your shoulder blades coming together: Keep your core tight and channel the momentum you’ve created from your lower body into your upper body.
Don’t knock your teeth out: On a rowing machine, you should draw the handle into your top two abs. It can be tempting to pull the handle up toward your neck for a smidge of additional distance or drama, but this extension wastes energy and doesn’t give you much extra “oomph.”
Don’t do the limbo: “How low can you go?” is for weddings and luaus, not rowing. The lean back at the finish is slight; throughout the entire rowing stroke, your back should remain in a strong position. At the finish, visualize your back should be at 11 o’clock on a clock face.
4. The Recovery

What happens in the Recovery phase?
Good news: In a rowing machine workout, you get a built-in opportunity to rest during every single stroke. It’s short, but it’s there! This is known as the Recovery—the phase in which your arms straighten, your core pivots forward, and your knees rise as you move back toward the screen of your rowing machine.
What does proper rowing form in the Recovery phase look like?
Arms: Extend the arms fully before moving your torso or legs.
Body: Hinge at the hips to bring your torso forward after your arms are extended.
Legs: Bend your knees and slide forward last, avoiding jerky movements.
Core: Keep your core engaged for stability and support.
Breathing: Inhale to prepare for your next stroke.
Tips for maintaining your technique during the Recovery phase
Here are some tips to recover like a champ:
Retrace your steps: In “1-2-3-3-2-1”, the “1-2-3” portion is the recovery. Let your arms extend first and be sure they pass over your knees when you rock your core over. Your forearms will thank you later!
Scan for tension: Relax your shoulders, unclench your jaw, and take a deep breath to keep oxygen flowing to your muscles.
Experiment with speed: Adjusting the duration of the recovery is one of the easiest ways to tinker with your rhythm, also known as strokes per minute. The way to control your speed is adjusting the time it takes for your knees to rise. Strive for smooth, steady control.
As you absorb each of these steps and think about them in your rowing workouts, you’ll develop a continually more efficient rowing technique that keeps you injury-free and feeling strong.
Putting it all together!
If you’re just getting started with rowing, reading this all in one sitting might feel a little overwhelming. Don’t overthink it too much at the start! Research has found our brains learn and master new movements best by practicing and improving over a period of time, so the best way to get started with learning proper rowing form is to hop on your rowing machine and take a stroke—and another, and another, and another.
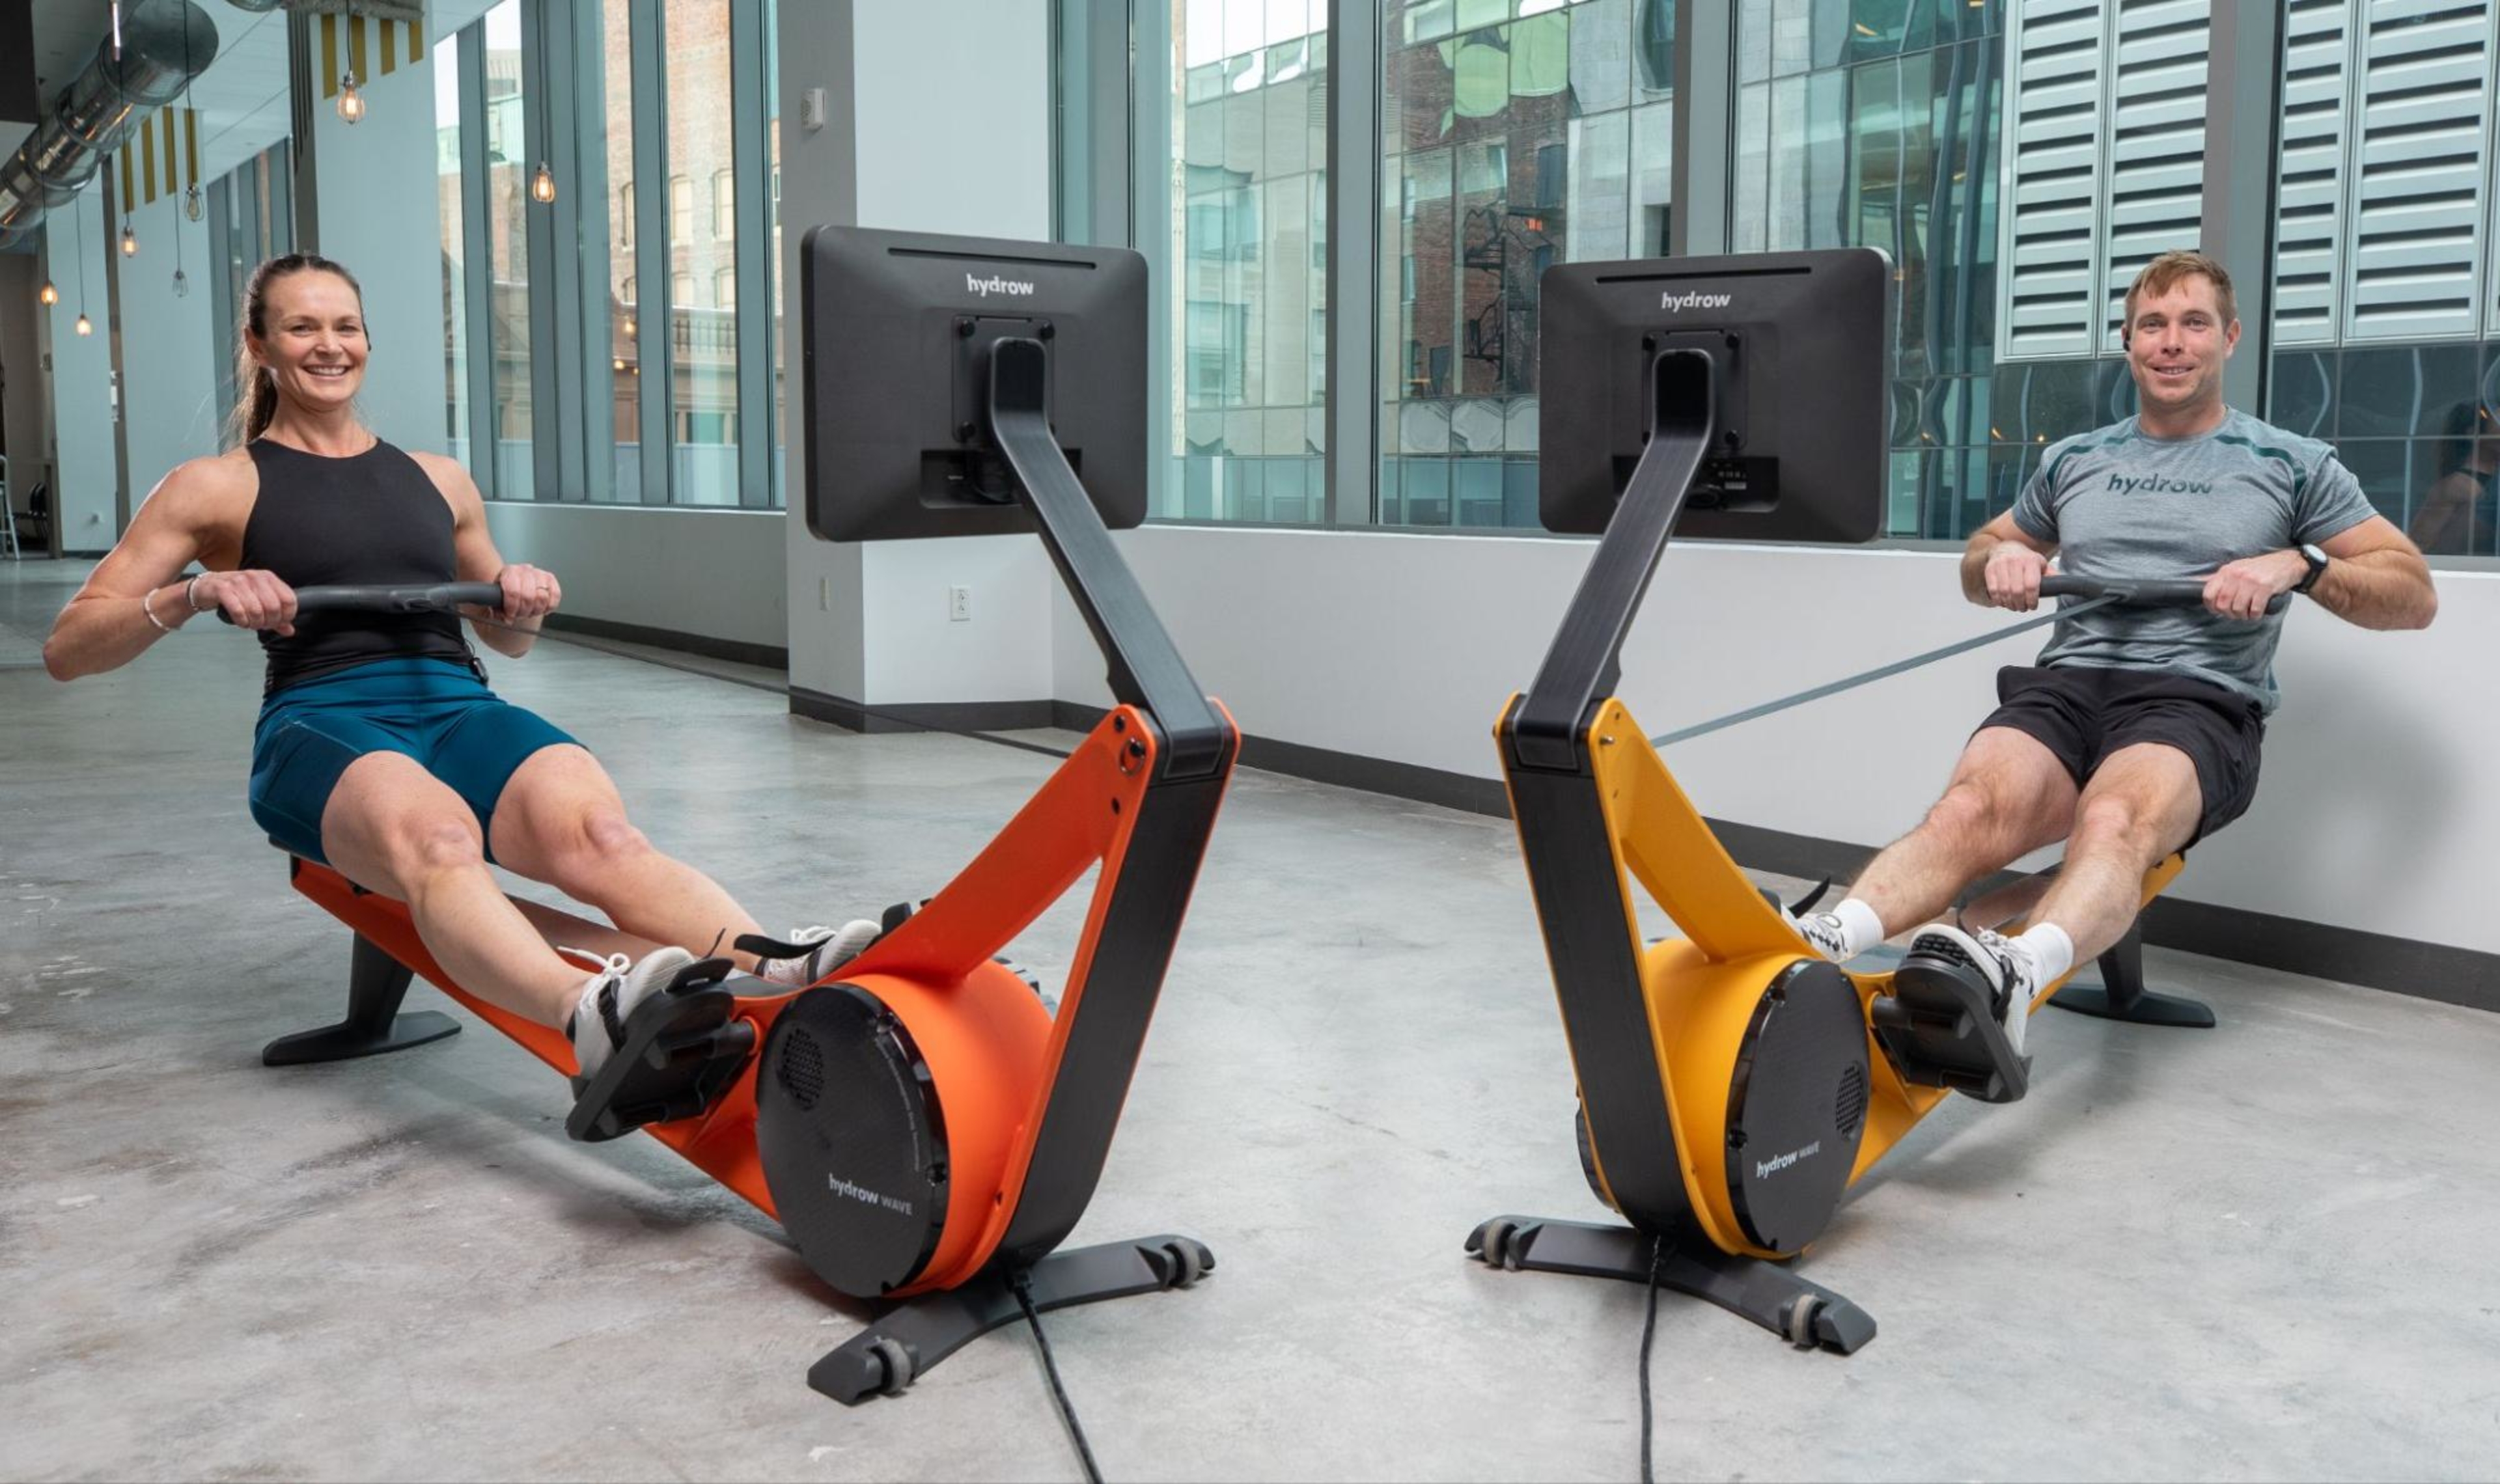
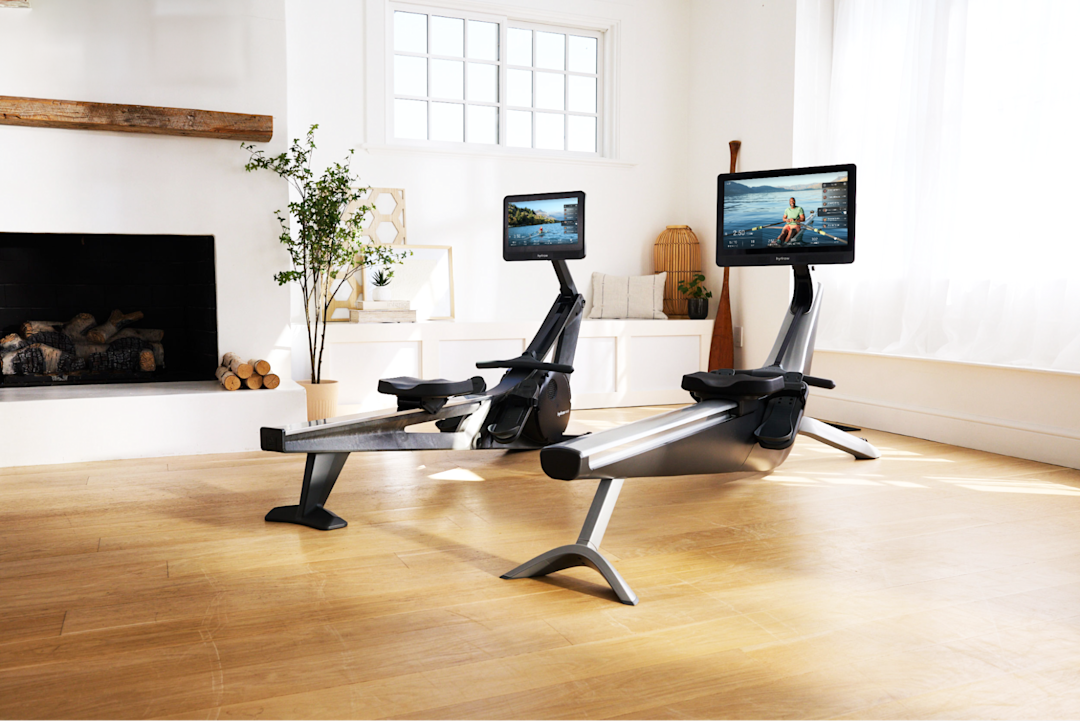
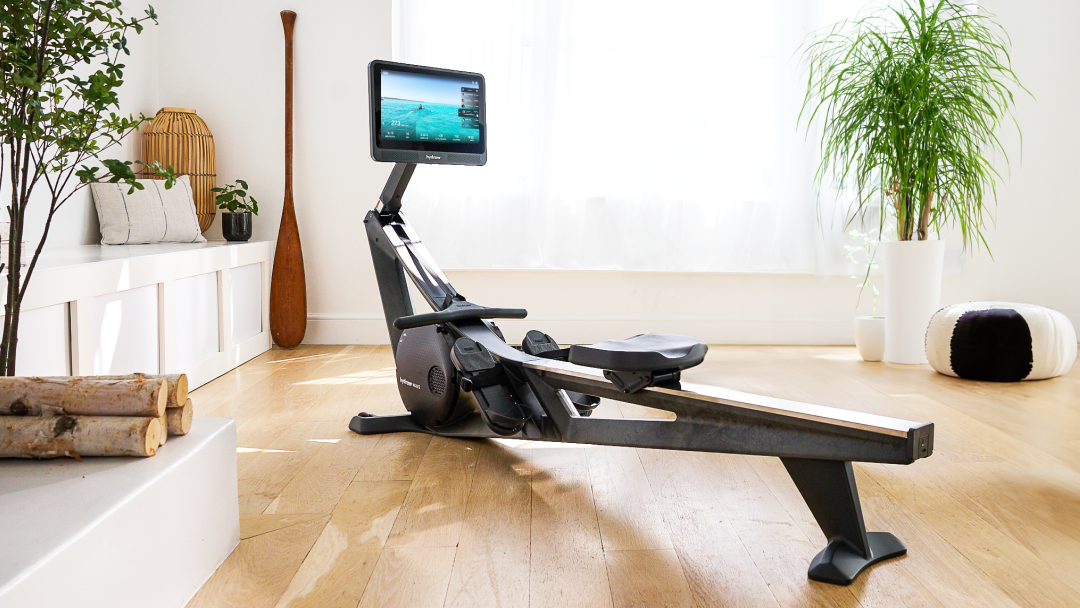
If you’re looking for a rowing machine that will help you master your rowing form, be sure to check out Hydrow. With real-time feedback and personalized scores, Hydrow helps you help you row smarter, build strength, and stay motivated. Just 20 minutes a day is all it takes to move with purpose, boost energy, and see results that last.
Hydrow’s workouts are led by world-class and Olympic Athletes and filmed on real water in beautiful locations around the world. Whether you’re rowing or cross-training with yoga, Pilates, strength, mobility, or circuit workouts, you’ll find movement that motivates—and keeps you coming back.
Ready to train smarter? Explore what Hydrow can do for you.
Real strength keeps moving
Learn how working out with Hydrow can help support a fuller, more active life.