How to Use a Rowing Machine: A Beginner's Guide
If you are getting ready to row for the first time, you likely have a ton of questions about how to use a rowing machine. These pieces of workout equipment have often been a bit of a mystery to gym-goers, getting passed over out of fear of rowing incorrectly.
However, the good news is that it’s easy to get up to speed on the ins and outs of rowing machine workouts, resulting in an efficient (and effective!) exercise option.
Below, we’ll dive into everything you need to know to use a rowing machine, including:
Let’s get started!
Your guide to the different parts of a rowing machine
Regardless of the type of rowing machine you’re using, there are several core components worth understanding how they work and why they’re essential to the rowing stroke.
Use this guide for the various parts of your machine and how to use them to get the most out of your rowing workout, including the:
Handle
Seat
Rail
Footplate
Resistance mechanism
Monitor
1. Handle

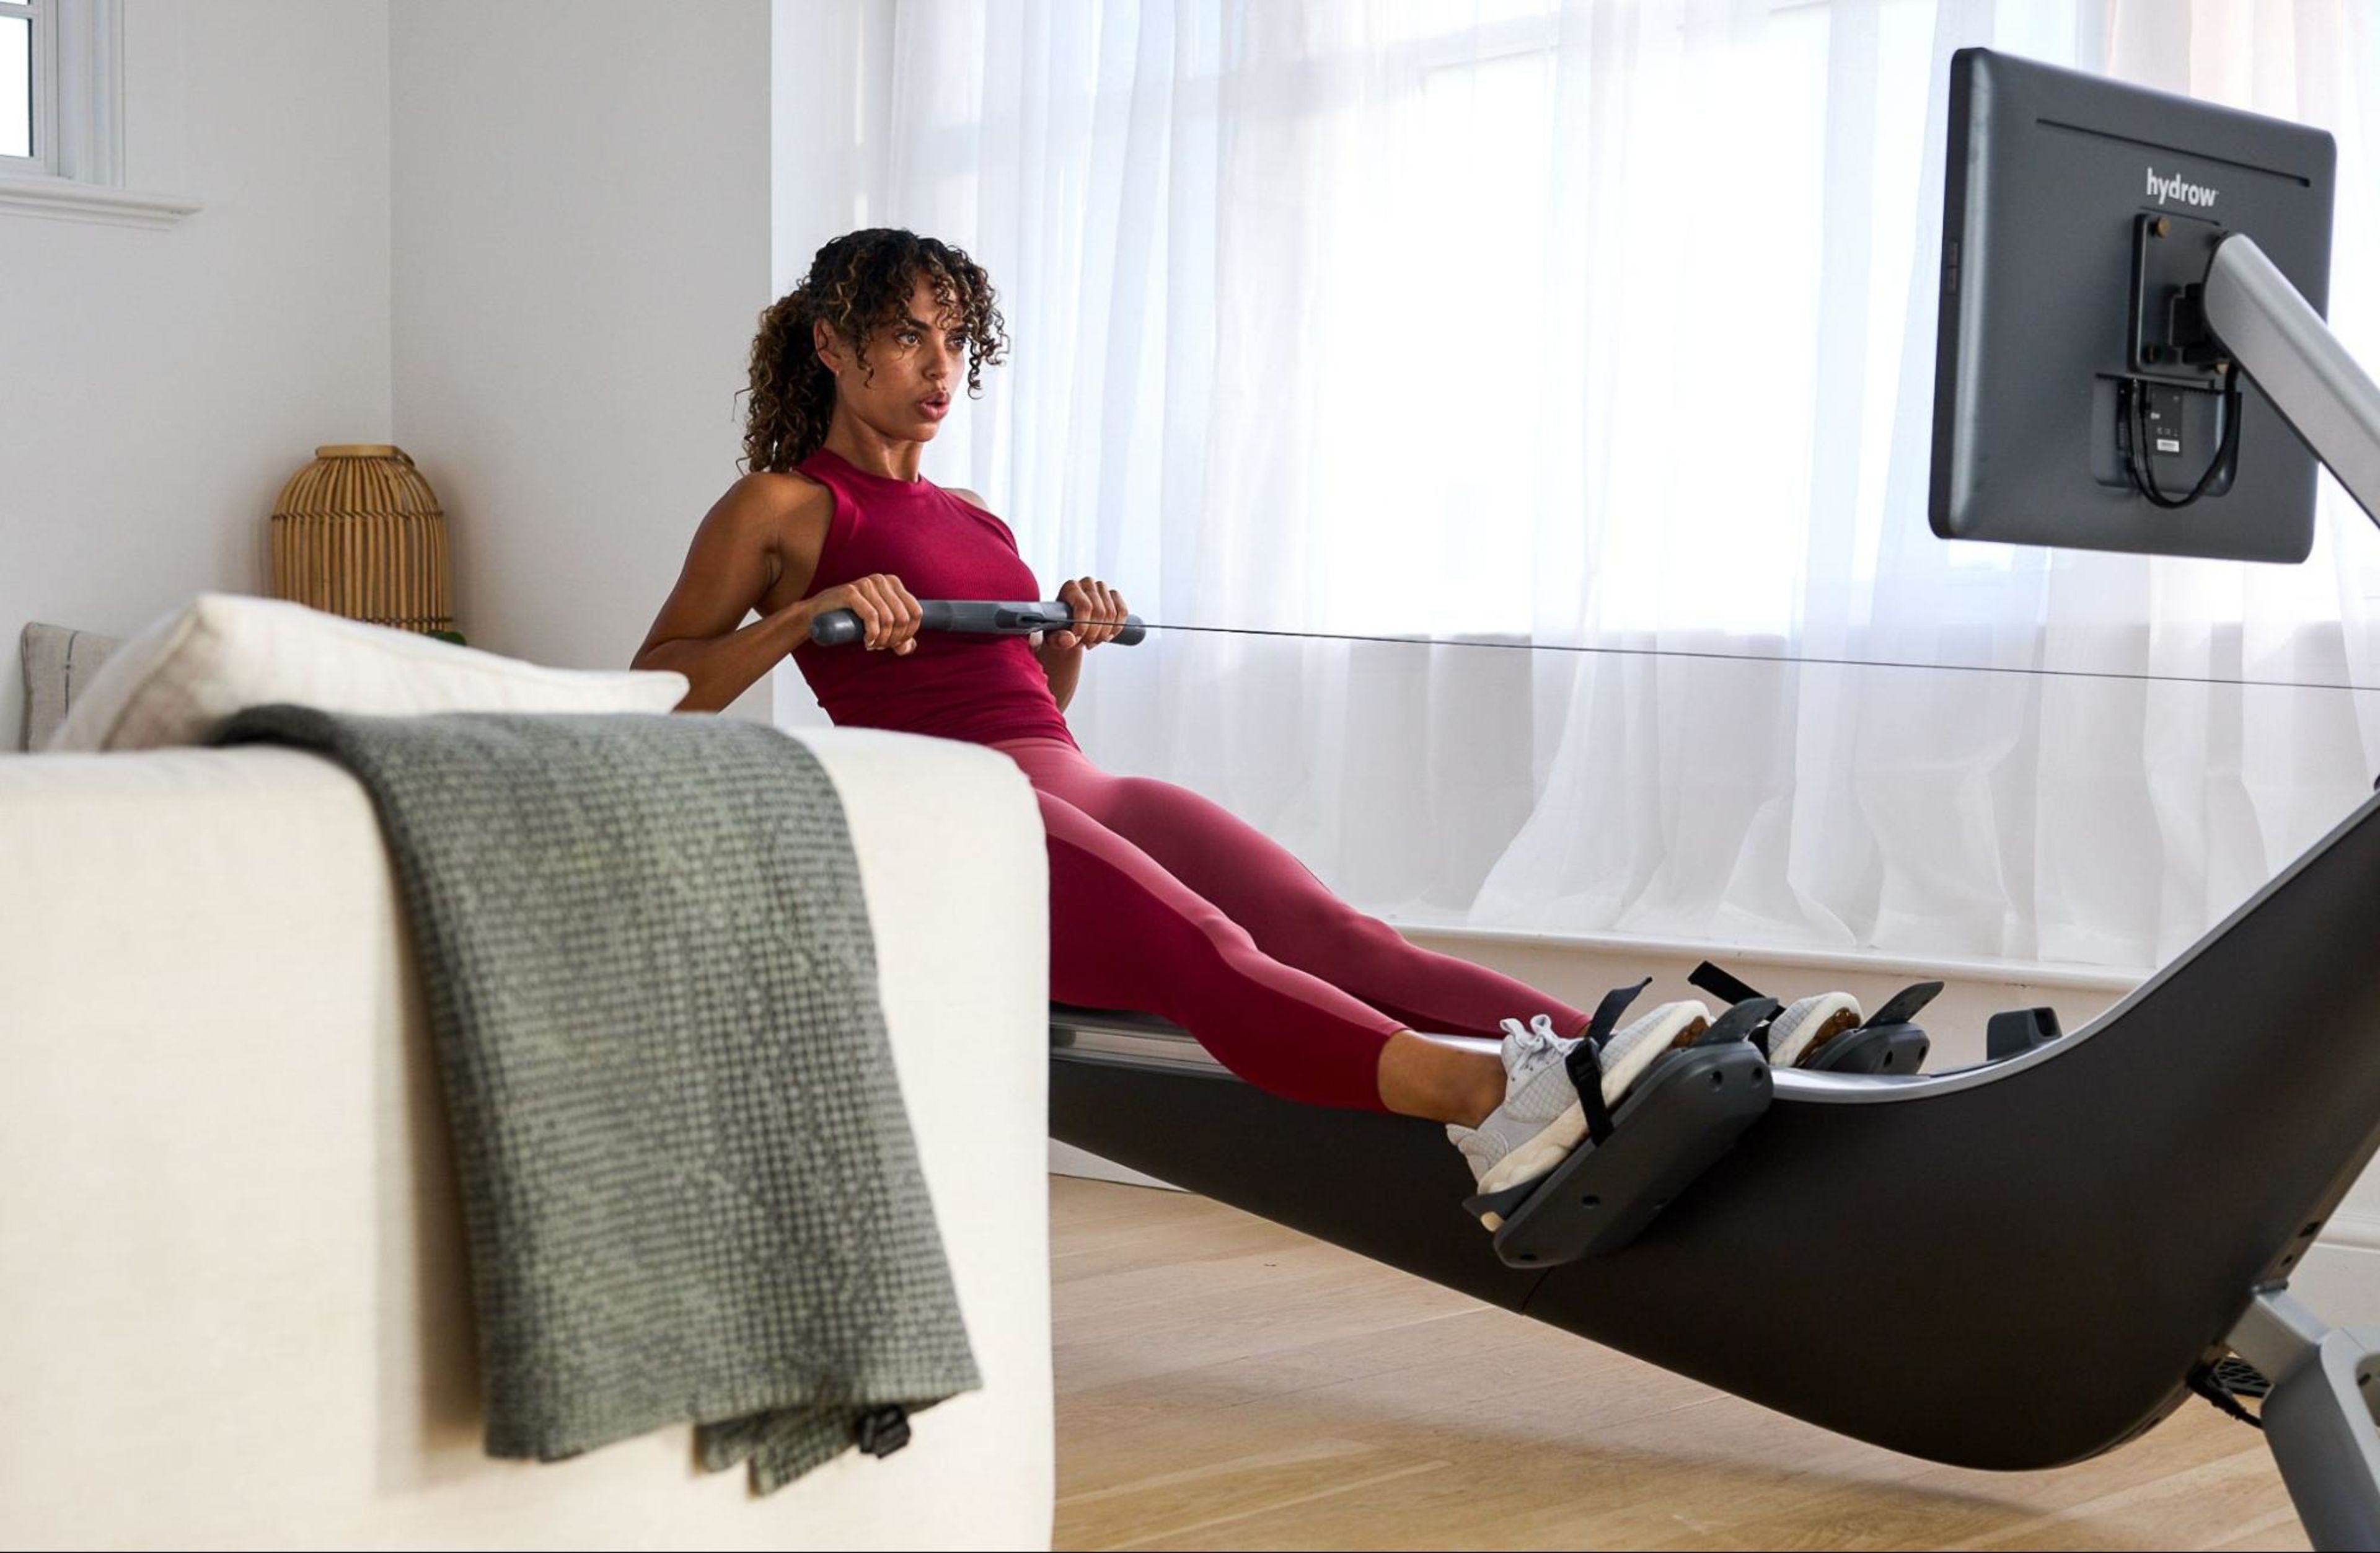
The handle provides you with a secure grip that allows you to maintain control and stability throughout your rowing stroke. The handle essentially simulates the experience of pulling an oar on the water as you pull it toward your body and push off with your legs to generate power and resistance.
2. Seat

Mounted on a rail, the seat on a rowing machine is designed to slide back and forth as you push off with your legs and pull the handle with your arms. The seat allows for a smooth, fluid motion, helping you maintain a consistent rhythm and pace as you row.
3. Rail

The seat glides smoothly along the rail on a smooth, straight path as you slide, allowing you to perform the full range of motion required for each rowing stroke. The stability the rail offers is key to maintaining proper form and preventing wobbling as you row.
4. Footplate

The footplate anchors your feet to allow you to transfer power through your rowing stroke without flying off the back of the rower machine. These footplates are highly adjustable depending on the size of your foot.
A good rule of thumb is to ensure the straps are on the widest part of your foot between your toes and the arch of your foot. The straps should be tight enough to hold your feet in place, but not so tight that they restrict blood flow.
Related Blog: What Are the Best Shoes for Rowing?
5. Resistance mechanism

The resistance mechanism determines how much effort is required to pull the handle and complete your stroke. Common resistance mechanisms used across the rowing machine market include air resistance, magnetic resistance, electromagnetic resistance, weather resistance, and hydraulic resistance.
6. Monitor

You can also expect to see a monitor on the front of your rowing machine, though the technology varies among the different types of rowing machines on the market today. Rowing machines like the Hydrow, for example, have a monitor that you can use to access a workout library and track your progress across key rowing metrics (more on that below!).
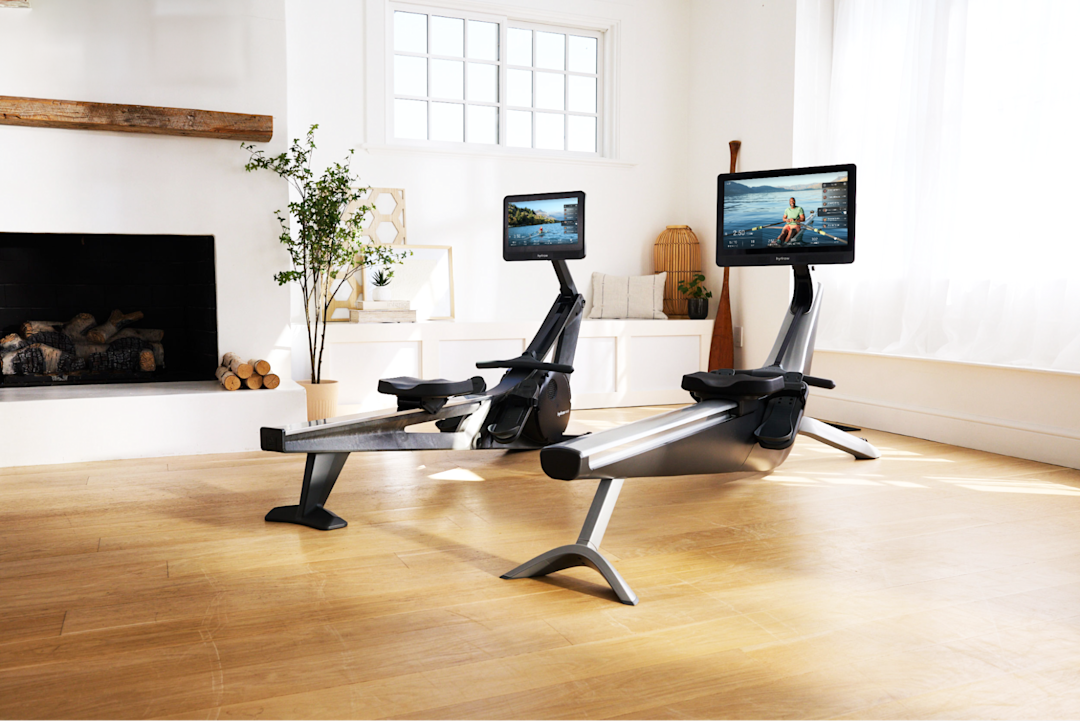
Wondering if a Hydrow rowing machine is right for you? Get answers in our FAQ guide.
Setting up your rowing machine: Best practices
If you are putting a rowing machine in your home, it’s typical to leave around two feet of space between your rowing machine and anything like walls or furniture. This allows you to have the space for proper form without hitting anything.
When your machine is not in use, you may be able to store it vertically. Many rowers require additional hardware (like a vertical storage kit or mount) to ensure safe storage, while others may fold for more compact storage.
Learn more: How to Store Your Hydrow Rowing Machine
If you’ve opted for a connected rowing machine, you’ll also likely need to set up both a power and internet connection before using your rower. Power is still often required for rowing machines without connected functions, though internet connection is not usually mandatory.
Efficiency for the win.
Work 86% of your muscles in just 20 minutes of rowing with Hydrow.
Your guide to common rowing metrics

Now that you understand the different parts of the rowing machine, let’s explore some of the metrics you are likely to see on your screen as you row:
Time: How much time has elapsed in your workout or how much time you have left in your workout, depending on how your rowing machine is set up.
Distance: How many meters you have rowed in your rowing machine workout.
Strokes per minute (SPM): The number of strokes you take per minute. This metric is often used to gauge your intensity and speed, as the more strokes you take, the faster you are going.
Watts: Another metric you can use to measure how much power you are generating in your strokes and gauge the intensity of your workouts.
Split time: The amount of time it takes to row a certain distance, usually measured in meters. The most common measurement used in indoor rowing is the 500-meter split, which is indicated by the metric /500m. Split times can help you compare your performance to your previous results and the performance of others. The lower your split time, the faster you’re going.
Average split time: The average amount of time it takes to row a certain distance, typically measured per 500 meters. You can use your average split to monitor your performance over the course of a workout and adjust your intensity.
Average watts: The average power output in your rowing workout, measured in watts. This metric is used to measure how intense the entirety of your session is.
Calories burned: The total number of calories you have burned over the duration of your workout.
Heart rate: The number of beats per minute (BPM) you’re experiencing while rowing. This helps you gauge how hard your body is working and whether you are working out safely.
How to get ready for your rowing workout

As you gear up for your workout, start by paying particular attention to the three key points of contact your body makes with your rowing machine:
The feet
The seat
The hands
These points are vital for staying stable, transferring power, and maintaining proper form throughout the rowing stroke. If any of them are off-kilter, it can decrease the effectiveness and efficiency of your strokes.
1. The feet
Having proper foot placement on your rowing machine can affect how much power you can utilize throughout the stroke and your ability to get your body into the right positions. Your feet should always be securely strapped into the foot stretcher and stay connected throughout the entire stroke.
Again, ensure the straps are on the widest part of your foot and are tight enough to hold your feet in place while allowing your heels to lift as you row.
2. The seat
Maintaining proper contact with the seat throughout the stroke is crucial for stability and power generation. As you slide back and forth, you should remain firmly planted on the seat, with the seat and handle moving together in one fluid motion.
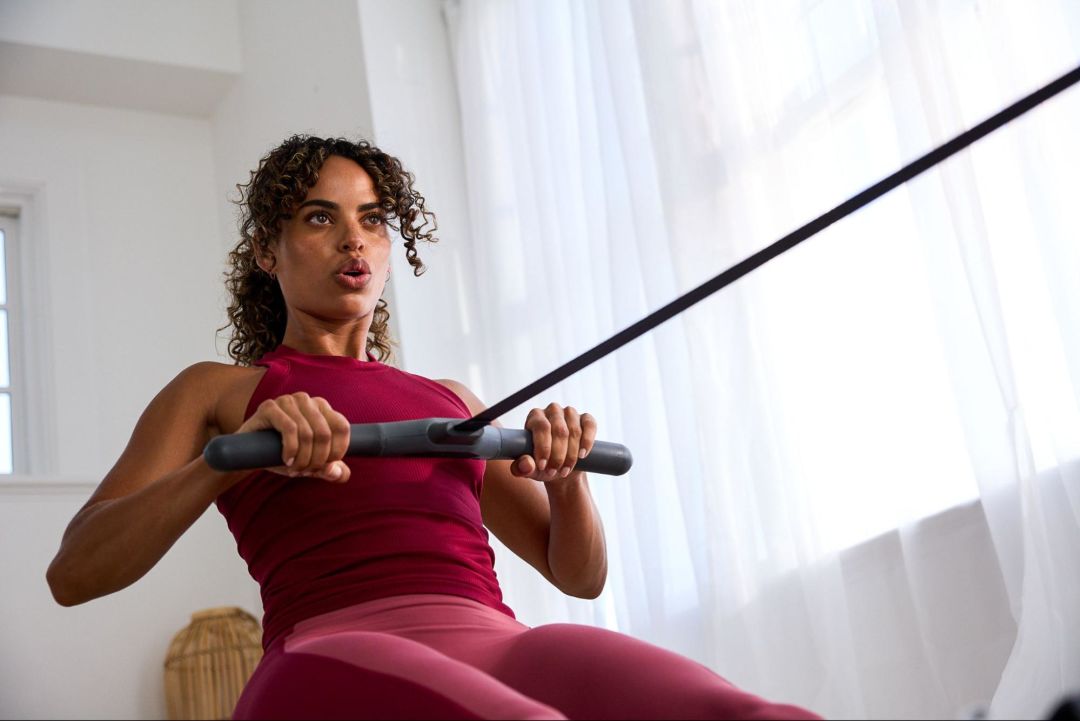
3. The hands
Maintaining proper hand position while keeping them in continuous motion allows for efficient power transfer from your body to the handle as you move through the rowing stroke. Your hands should grip the handle firmly, but without excessive tension. Keep your wrists and thumbs relaxed to avoid unnecessary strain on your forearms and wrists.
Mastering these three points of contact in rowing technique is essential for achieving optimal performance and preventing injuries. By ensuring solid contact with the feet, seat, and hands, you’ll be able to generate power efficiently and maintain proper form throughout each stroke.
Your guide to the four parts of the rowing stroke

It’s time to row! The rowing stroke is broken down into four distinct phases, each important to understand to maximize the effectiveness of your workout. These four phases include:
The Catch
The Drive
The Finish
The Recovery
1. The Catch

To start, you want to sit tall on your rowing machine with your knees bent and your ankles flexed. Your shins should be vertical, with your arms reached out straight. Relax your shoulders and engage your core as you lean your shoulders slightly in front of your hips, still keeping your back nice and tall.
You want to keep your body in a strong position here as you anticipate moving to the next phase of the rowing stroke. You will also return to this position as you start each rowing stroke, so it’s important to know where your Catch position is so you can anticipate your changes in direction.
2. The Drive

The Drive phase is the part of the stroke where you exert power to propel yourself backwards. The Drive phase progresses across three main components: legs, core, and arms:
Legs: You’ll initiate the stroke by driving with your legs and pushing against the foot stretchers to generate force.
Core: As your legs begin to fully extend, you’ll swing your body back from the hips while maintaining an engaged core.
Arms: Once the legs are fully extended and the body is leaning back, you’ll begin to pull out with your arms and drawing the handle toward your body. This completes the Drive phase and maximizes the power applied to the handle.
This sequence of legs, core, arms (also referred to as “3-2-1”) should be done in one fluid movement without pausing. If you’re doing the Drive phase correctly, you should feel consistent resistance on the handle, even pressure on your feet and handle, and an active core, quads, glutes, and hamstrings.
3. The Finish

The third phase of the rowing stroke, called the “Finish,” is essentially the opposite of the Catch position.
Your handle should be touching your body at your sternum, with your wrists flat and your grip relaxed. Your elbows will be at a 45-degree angle (neither too high or too low), as you lean slightly away from the screen and engage your core. Your legs will be flat and straight as your feet push flat on the footboard.
Be sure that your body is neither too stiff nor too relaxed—you shouldn’t rest or collapse at the Finish. It’s essentially a “mini pause” where your body feels strong as you engage your core and hip flexors and squeeze your shoulder blades.
4. The Recovery

The Recovery is the portion of the rowing stroke where your handle travels from being the furthest away from the screen to the closest to the screen. Your recovery will help you regain a strong position as you prepare to take your next stroke.
As the Recovery is essentially the opposite of the Drive, you’ll use a sequence of arms, core, legs this time around:
Arms: Extend your arms back out.
Core: Rock your core forward, bringing your shoulders past your hips with your hands past your knees.
Legs: Draw your knees up, sliding the seat back toward the front of your rowing machine in a controlled manner.
Do note that the Recovery is typically slower than the Drive, so don’t feel like you have to shoot yourself back to the screen at the same pace that you left it.
To see all four parts of the rowing stroke in action, check out this instructional video from Hydrow Athlete Sera Moon:
Common rowing mistakes beginners make and how to avoid them

Maintaining proper rowing form is a vital part of learning how to row, making your workouts more effective over time, and avoiding injury. Because form is so important, there are some common mistakes that new rowers make as they get their body comfortable with the rowing stroke:
Common mistakes made at the Catch
Starting your position all the way up at the screen
Gripping the handle too tightly
Slouching as you get tired
Extending too far forward to try to increase your stroke length
Common mistakes made at the Drive
Only using your arms to row instead of your arms, legs, and core
Pulling with your arms too early
Shooting your butt backward in an effort to more quickly straighten your legs
Common mistakes made at the Finish
Bending your knees
Holding your arms too high up
Leaning back too far
Keeping your core too straight and rigid
Not keeping your toes flat on the footplate
Holding your handle at your neck or collarbone
Common mistakes made at the Recovery
Coming back to the screen too quickly
Hunching over as you return to the screen
Bending your knees too early
Here, it’s important not to get discouraged. Learning how to row takes a ton of time and effort, and it’s normal to feel like you’re continually “finding” your rowing stroke. The great thing about rowing is that you get to essentially start over each time you start your stroke, so even if you don’t nail one of them, you can focus your attention on doing better the next one (and the next one, and the next one!).
Common types of rowing machine workouts and drills

When you’re selecting your workouts, it can be tough to navigate all of the verbiage to know which ones you should be working on. Below, we’ll dig into the different types of rowing workouts and rowing drills so you can understand what to expect from a workout before you start:
1. Steady-state rowing
These are continuous, moderate-intensity rowing workouts over an extended period of time. You can expect to do a steady-state row for 20 to 60 minutes around 20 to 24 strokes per minute (SPM). Steady-state rows can help you improve your cardio endurance and overall aerobic fitness while focusing on your form.
2. Interval training
With interval training rows, you’ll alternate between periods of high-intensity rowing and low-intensity rowing. These rows usually take between 10 and 20 minutes, including your warm-up and cool-down. Interval training can help you boost your cardio fitness, burn calories, and improve your speed and power.
What’s your workout style?
Take our quiz and get a customized 14-day training program.
3. High-intensity interval training
Also known as “HIIT,” high-intensity interval training entails short bursts of maximal effort followed by longer recovery periods. You’ll row for 10 to 30 minutes with higher-intensity strokes per minute around 26 to 30+ SPM. The goal with HIIT rowing is to maximize your calorie burn and improve your anaerobic capacity.
Related blog: Your HIIT Workout Guide
4. Warm-ups and cool-downs
It’s vital to warm up and cool down before and after your rowing workouts. Bookend your main rowing workout with a five-minute warm-up and cool-down with lower-intensity strokes per minute around 18 to 22 SPM.
5. Staircase drills
In this workout technique, you progressively increase or decrease the intensity or duration of your intervals in a structured manner, resembling the steps of a staircase. You can row “up” the staircase by starting at a low intensity and/or duration and increasing it incrementally, or “down” by starting at a high intensity and decreasing the intensity and/or duration of your intervals over time.
6. Pyramid drills
Similar to a staircase drill, pyramid drill entails increasing and decreasing the intensity and duration of your intervals in a pyramid-like fashion. This type of workout helps improve your endurance and provides a structured and progressive workout that challenges both your aerobic and anaerobic fitness.
7. Pick drills
Often used during warm-ups, a pick drill breaks down the rowing stroke into segments, allowing you to focus on your technique, coordination, and timing. You’ll start by rowing with your arms only, then transition one at a time to your arms and body, a quarter-slide, a half-slide, a three-quarter slide, and then a full stroke. By building up one element at a time, you can focus on honing specific aspects of your rowing stroke.
8. Legs-only drills
You guessed it—with a legs-only drill, you’ll focus solely on using your legs to initiate the Drive phase of the rowing stroke. This drill isolates the leg muscles and helps improve your leg power, coordination, and timing and is often used as a warm-up.
9. Guided rows
Guided rowing workouts are led by an instructor who coaches you through your workout. On Hydrow, for example, guided rowing workouts are led by Hydrow Athletes who are trained to provide you with workout structure, guidance, motivation, technical reminders, and encouragement.
10. Unguided rows
If you would prefer to row without any instruction or coaching, you can also select an unguided row. These are self-led and at your own pace.
The types of workouts and drills you prioritize mainly has to do with your fitness goals, but a good way to approach choosing your workouts is to mix them up. Alternate between longer, steady-state rows and shorter yet higher-intensity rows, with drills mixed in to keep you focused on your form.
Low-impact, high reward.
Build lasting strength on a rower designed to protect your joints.
How long should a rowing workout last?

Because rowing is a full-body workout, it doesn’t take long to get a sweat in! However, there are various health benefits to completing different durations or distances.
The amount of time you should spend on your rowing machine depends on your individual fitness goals. If you are new to rowing, prone to injury, or facing health complications, you’ll want to keep your workouts on the shorter side to start. Give yourself some time to understand this new movement and avoid creating bad habits in your technique. As you continue to develop sound technique and fitness, you may gradually increase the length of your rows.
Here are some common rowing durations and the types of benefits they can offer:
5- to 10-minute rowing workouts: These short sessions are perfect for warming up, cooling down, working on active recovery, or getting in a quick sweat. For example, a 10-minute rowing warm-up can improve your blood flow, boost your focus, and help prevent injury.
20-minute rowing workouts: A favorite among rowing enthusiasts, 20-minute workouts are essentially all you need to work your entire body and burn a ton of calories.
30-minute rowing workouts: This is an ample amount of time for you to feel properly warmed up and fully engaged with your workout. Not only will you feel an endorphin release, but you’ll also build strength and stamina.
45- to 60-minute workouts: These can be intimidating (especially for newcomers), but the benefits are well worth the effort. Rowing for 45 minutes is an excellent way to improve endurance, mental resilience, and overall confidence.
7 rowing machine workouts for beginners
If you’re just getting started with rowing, you likely want to try out some rowing machine workouts for beginners that will get you acclimated to using a rowing machine while still giving you a taste of what you can expect as you improve over time.
Check out these seven rowing machine workouts from Hydrow that are the perfect starting point for newbie rowers (with some gorgeous backdrops to boot!):
1. 15-Minute Foggy Conditioning Row in Florida
2. 10-Minute Steady State Rowing Workout on the Charles River
3. 10-Minute Endurance-Building Rowing Workout in Los Angeles
4. 10-minute Rowing Workout With Pink Skies in Boston
5. River Thames, England | 10-minute Rowing Workout
6. 10-Minute Cool-Down Rowing Session Next To The Majestic Charles River
7. 5-Minute Cool-Down Rowing Workout at the Fox Glacier in Alaska
How to use a rowing machine: Final thoughts
Using a rowing machine can be an incredibly effective and enjoyable way to improve your overall fitness. By incorporating proper technique and varying your workouts, you can maximize the benefits of your rowing sessions.
If you’re considering adding a rowing machine to your home, Hydrow brings more than just equipment—it brings total-body results and intelligent training.
Each stroke works 86% of your muscles, delivering an efficient, immersive workout—and with real-time feedback and personalized scores, Hydrow helps you help you row smarter, build strength, and stay motivated. Just 20 minutes a day is all it takes to move with purpose, boost energy, and see results that last.
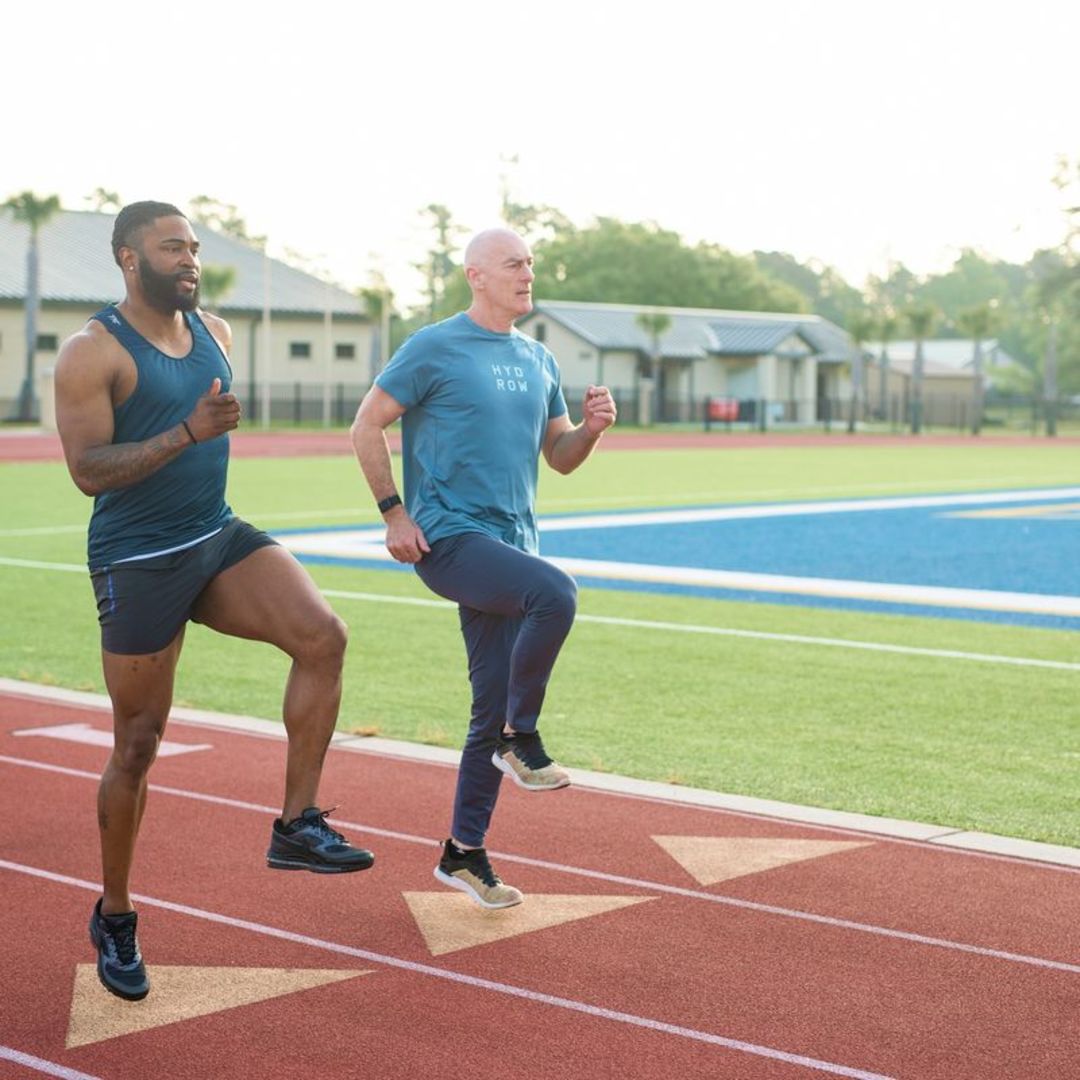
Hydrow’s workouts are led by world-class and Olympic Athletes and filmed on real water in beautiful locations around the world. Whether you’re rowing or cross-training with yoga, Pilates, strength, mobility, or circuit workouts, you’ll find movement that motivates—and keeps you coming back.
Ready to train smarter? Explore what Hydrow can do for you.
Real strength keeps moving
Learn how working out with Hydrow can help support a fuller, more active life.